
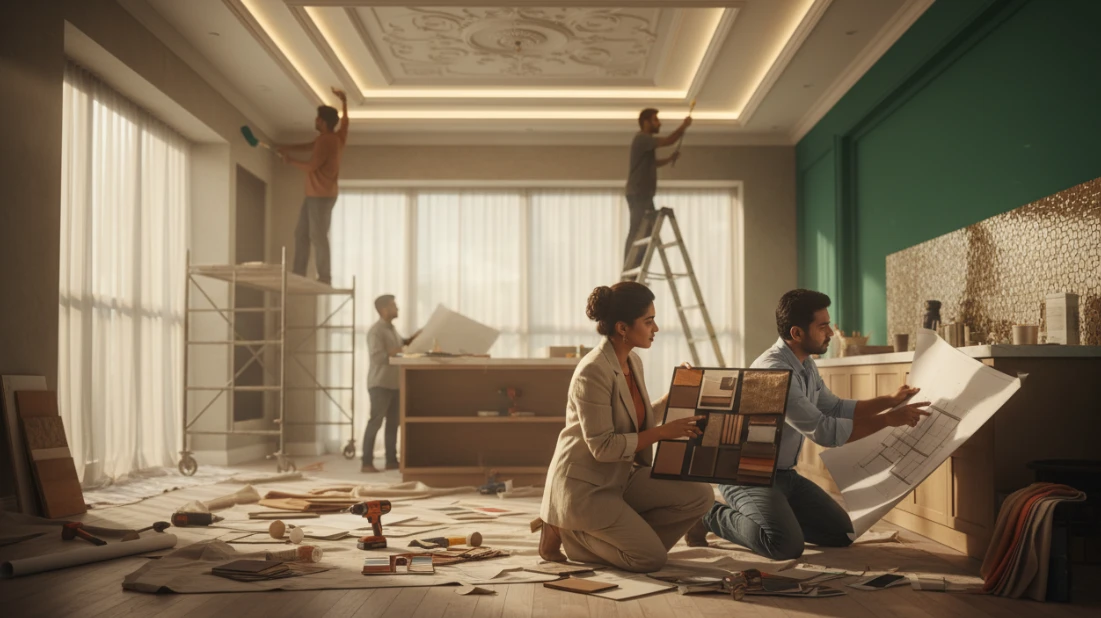
In any home renovation, the surfaces that surround us the walls, the ceilings, and the focal-point backsplashes are the elements that most dramatically define the character, light, and perceived size of a room. These surfaces act as a canvas, and their treatment is crucial to the success of the entire design. A fresh coat of paint, a new structural line, or the strategic placement of tile can elevate a space from ordinary to architecturally distinguished.
However, transforming these elements is a multi-step process that requires precision, a systematic approach, and specialized expertise. It involves not just aesthetic choices like Painting walls or Installing new decorative tile, but foundational construction work like Drywall/Wall Prep and, sometimes, major structural changes such as Removing walls or adding walls. Companies like MK Professional Services excel at managing this entire spectrum of work, ensuring that every surface, from the floor-to-ceiling lines to the intricate backsplash detail, is executed flawlessly.
This comprehensive guide breaks down the essential steps, technical challenges, and key considerations for any project involving walls, ceilings, and backsplashes.
The Foundation – Drywall, Structure, and Prep
No amount of beautiful paint or expensive tile can mask shoddy foundational work. The integrity of the walls and ceilings depends entirely on the preparatory phase, which often involves messy, technical labor that is best left to experienced professionals.
1. Drywall/Wall Prep: The Critical First Step
Before any finishing work can begin, the substrate must be perfect. Drywall/Wall Prep is arguably the most critical and often underestimated phase of any interior remodel.
- Patching holes, repairing damage: This is necessary in almost every renovation. Whether it’s small nail holes, larger dings, or significant damage from water or previous renovations, proper patching involves applying joint compound (mud), sanding smooth, and feathering the edges so that the repair is invisible under light.
- Installing new drywall after utility work: Significant renovations, particularly in kitchens or bathrooms, often require opening walls for new plumbing, electrical lines, or HVAC ducts. Installing new drywall after utility work demands precise cutting, securing the board to studs, and taping and mudding the seams. Any imperfection here will be highlighted when the final finish (paint or wallpaper) is applied.
- Texture Matching: In homes with textured walls or ceilings (like knockdown or popcorn), matching the texture after a repair is a highly skilled task. Professionals use specialized tools and techniques to blend the new surface seamlessly with the old.
2. Structural Remodeling: Removing Walls and Adding Walls
Major space redesigns often necessitate structural changes. The decision to embark on removing walls or adding walls transforms a renovation into a significant construction project.
- Removing Walls: This is a complex undertaking. Before removing walls, the wall must be assessed to determine if it is load-bearing. Load-bearing walls require the installation of a structural beam (e.g., steel or engineered lumber) to carry the weight of the structure above. Improper wall removal can lead to catastrophic structural failure. Hiring a contractor like MK Professional Services ensures structural integrity is maintained and building codes are followed.
- Adding Walls: Adding walls to partition a large room or enclose a space (like creating a home office or a new closet) is simpler but still requires precise framing, electrical work, and, most importantly, seamless integration with the existing ceiling and floor lines.
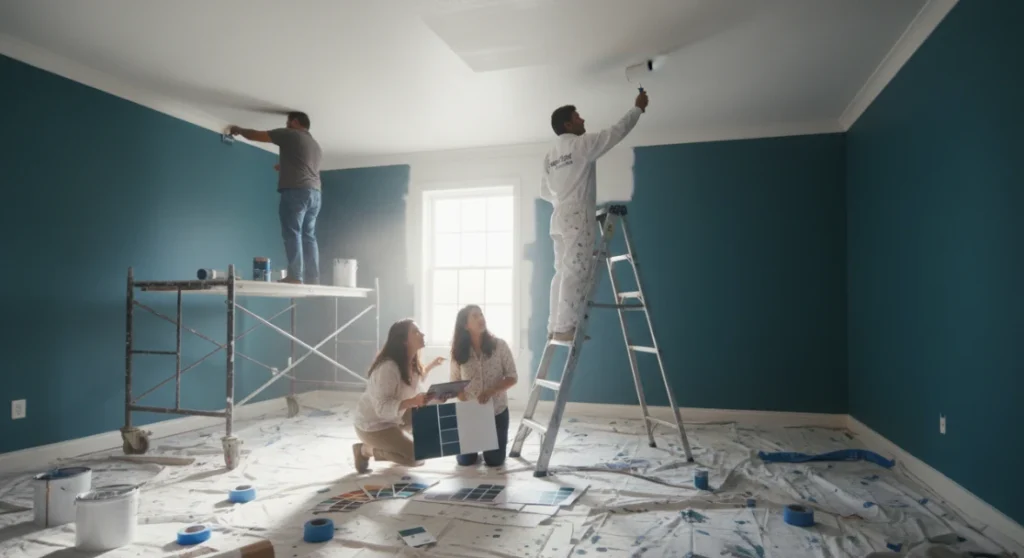
The Canvas – Painting Walls and Ceilings
Paint is the single most affordable and effective way to completely change the mood and style of a room. It unifies the space and highlights the architectural features of the home.
1. Painting Walls: Color and Finish
The process of Painting walls involves far more than simply applying color.
- Color Strategy: The chosen color palette dictates the feeling of the space. Dark colors create intimacy and drama, while light colors expand the perceived size of the room and maximize natural light.
- Finish Selection: The sheen (flat, eggshell, satin, semi-gloss) is crucial. Flat finishes hide imperfections (ideal after patching holes), while satin and semi-gloss are more durable, easier to clean, and often reserved for high-traffic areas and trim.
- Technique: Professional Painting walls involves proper cutting-in (the line where the wall meets the ceiling or trim), consistent roller technique to avoid lap marks, and proper ventilation to ensure a strong, even cure.
2. Painting Ceilings: A Ceiling Lift
Painting ceilings is often overlooked, but provides a dramatic finish to a room. Ceilings are typically painted with a flat, white, or off-white paint to diffuse light and hide the imperfections that light naturally highlights.
- Popcorn Removal: Before Painting ceilings, many homeowners choose to remove outdated “popcorn” texture. This is a very messy job that, in older homes, may require asbestos testing, making professional handling a necessity.
- Ceiling Height Perception: A flat, consistent ceiling line helps define the height of the room. A freshly painted ceiling, especially when contrasting a newly colored wall, visually “lifts” the space.
Backsplash Material Comparison
This table compares common backsplash materials based on their properties, cost, and installation complexity.
| Material Type | Look and Feel | Installation Method | Ease of Cleaning | Cost Range |
| Ceramic/Porcelain Tile | Versatile, huge range of colors/patterns (e.g., subway, mosaic). | Mortar and grout (Installing new decorative tile). | Good (Grout requires sealing). | Low to Medium |
| Natural Stone | Rich, textured, unique (e.g., marble, travertine). | Specialized mortar and wide grout lines. | Poor (Highly porous, requires frequent sealing to prevent staining). | Medium to High |
| Slab Backsplash | Seamless, monolithic, modern (e.g., Quartz, Marble). | Adhesive/Epoxy often requires specialized lifting (matches slab countertop). | Excellent (No grout lines to clean). | Highest |
| Glass Tile | Contemporary, highly reflective, bounces light (good under upper cabinets). | Thin-set mortar (specialized white adhesive recommended). | Excellent (Non-porous). | Medium |

The Focal Point – Backsplash and Countertops
The area between the base cabinetry and the upper cabinets, the backsplash, is the kitchen’s ultimate design focal point. Its material choice and installation technique are critical, as it interacts directly with the horizontal stone countertop or slab countertop.
1. The Art of Installing New Decorative Tile
Installing new decorative tile for a backsplash involves a complex interplay of material, pattern, and precision.
- Material Choice: Backsplash options are diverse, including ceramic subway tile, glass mosaic, natural stone, or even metal. The choice should complement the primary finish of the room and the permanence of the slab countertop below.
- Pattern and Layout: Patterns (subway, herringbone, basketweave) must be meticulously planned. The tile installation must start and stop at visually sensible points (e.g., lining up with the edges of upper cabinets) and should be precisely centered over the range or sink.
- Grout Selection: Grout color plays a huge role. Contrasting grout highlights the pattern (e.g., dark gray with white subway tile), while matching grout creates a seamless, uniform surface. Professional installation ensures consistent spacing, clean cuts, and proper sealing to resist staining.
2. The Relationship to Stone and Slab Countertops
The backsplash is inextricably linked to the countertop below it.
- Stone Countertop: Most modern kitchens utilize a stone countertop (like granite or quartz) or a slab countertop (a large, seamless piece of quartz, marble, or porcelain). The thickness and finish of the stone dictate how the backsplash tile meets the counter. The tile should sit directly on top of the counter, with a thin bead of silicone caulk (not grout) used to seal the seam, accommodating the movement and moisture typical of a kitchen.
- Slab Backsplash: An increasingly popular high-end trend involves continuing the slab countertop material vertically up the wall, eliminating the need for separate installation of new decorative tile. While visually stunning and seamless, a slab countertop and backsplash combo is a significant material investment.
3. Upper Cabinets and Design Integration
The bottom line of the upper cabinets defines the top edge of the backsplash. Careful planning is needed to ensure the tile does not extend past the cabinets unless it is a deliberate design choice. The tile work must be plumb and level to the cabinets, a challenge often requiring fine adjustments in the installation process. This structural relationship highlights why a cohesive contractor, capable of installing both the upper cabinets and the Installing new decorative tile, is essential for flawless results.
The Professional Advantage in Walls, Ceilings & Backsplash
These surface renovations look simple but are defined by the details: the flawless joint where new Drywall/Wall Prep meets old, the crisp line between Painting walls and Painting ceilings, and the millimeter-perfect cuts around outlets in the backsplash.
1. Unified Project Management
Renovations that involve removing walls and installing new drywall after utility work require coordinating multiple trades: structural engineers, carpenters, electricians, plumbers, and then painters and tilers.
- Efficiency and Flow: A general contractor like MK Professional Services acts as the single point of contact, ensuring that the process flows logically: Drywall/Wall Prep and utility work precedes paint, and counter installation precedes backsplash tile. This structured approach prevents delays and costly rework.
- Quality Control: By controlling every step, from the framing of adding walls to the final Painting walls, the contractor guarantees a consistent, high-quality finish across all surfaces.
Comparing Renovation Scope for Walls and Backsplash
This table summarizes the core work required for different renovation tasks involving walls and the kitchen focal point.
| Task Category | Key Sub-Steps Involved | Primary Goal | Aesthetic Impact | Complexity/Skill Level |
| Aesthetic Refresh | Painting walls, Painting ceilings, Patching holes | Update color, hide minor imperfections, maximize light. | High (Instant Transformation) | Low to Medium (High skill for seamless finish) |
| Structural Remodel | Removing walls (Load-Bearing), adding walls | Redefine space layout, create open concepts. | Exceptional (Fundamental Change) | High (Requires Engineering/Permits) |
| Backsplash Focal Point | Installing new decorative tile, stone countertop coordination | Introduce texture, color, and a high-end finish to the kitchen. | High (Kitchen Differentiator) | Medium to High (Precision tiling and stone handling) |
| Post-Utility Prep | Drywall/Wall Prep, installing new drywall after utility work | Restore surface integrity after plumbing/electrical work. | Low (Foundational) | Medium (High skill for seamless mud/tape) |
Conclusion: Crafting the Perfect Surface Solution
The journey to an organized, beautiful, and efficient home invariably leads through the careful consideration of the foundational and finishing surfaces. The choice between the major renovation of Removing walls, the essential repair of Drywall/Wall Prep, or the artistic flair of Installing new decorative tile defines the scope and skill requirements of the project.
There is a viable path for every budget and goal, but all roads lead through precise execution. By partnering with experts who prioritize structural integrity, aesthetic detail, and functional design, homeowners can ensure their investment in these primary surfaces will be a source of pride and efficiency for years to come.To begin the conversation about transforming your walls, ceilings, and backsplashes whether through Painting walls, Removing walls, or installing your next slab countertop reach out to the skilled professionals at MK Professional Services today.

Leave a comment